Make your very own Trick-or-Treat Origami Candy Box / Holder this Halloween! This origami candy box is great for storing little candies or treats for your trick-or-treaters this year. But they can really be used as party favors, or decoration, for any time of the year. :-) The DIY paper box requires 2 sheets of square paper. I used 6" squares. The bottom is a traditional origami box, and the lid is almost identical, but with a slight twist at the end.
This tutorial will show you how to fold an origami rocket - just in time for July 4th! It's not too hard, either, which makes it great as a last-minute craft for kids. The rocket can lie flat to be glued on a flat surface, or stand on its own to be used as a table center piece. Use American-themed paper or colors for a festive touch. Add glitter for some glam. :-) Enjoy! Every year for the 4th of July, my family gathers in New Jersey for a barbecue. There's a plethora of food - mostly Chinese, but some American too. I always look forward to having hot dogs. I know they're probably so bad for you, but it's quite delicious if you ask me!  Want to print this origami paper for absolutely free?! Click HERE! Image courtesy of nirots / FreeDigitalPhotos.net Written InstructionsWarning: Written instructions may be confusing for beginners. They're meant to be general guidelines, and will often skip ahead! If you're lost, refer to the video tutorial above, where I go into extreme detail. :-) MATERIALS
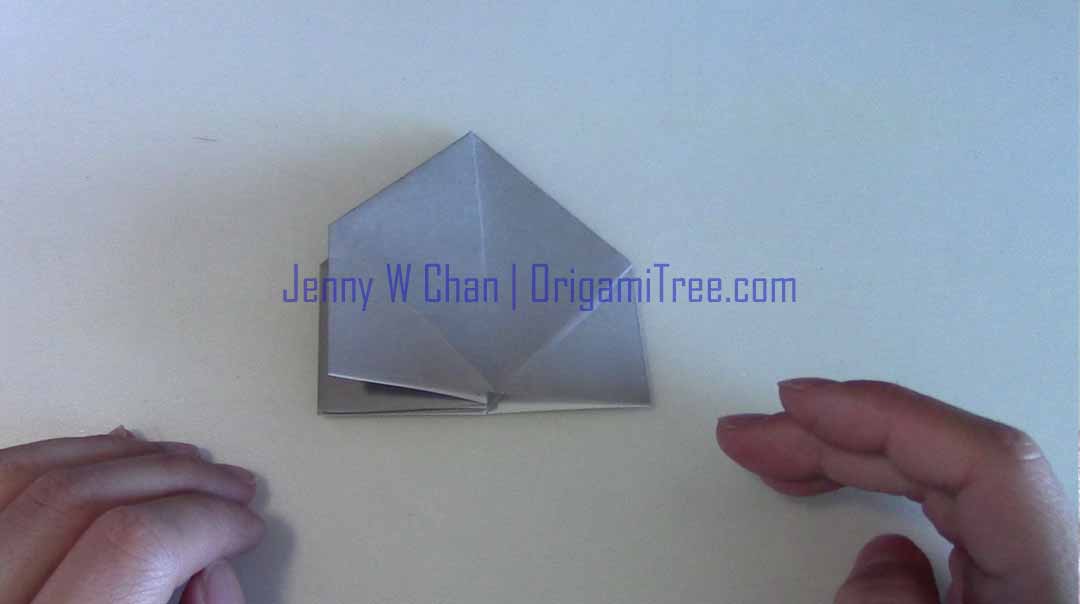
INSTRUCTIONS 1. Start with a waterbomb base. 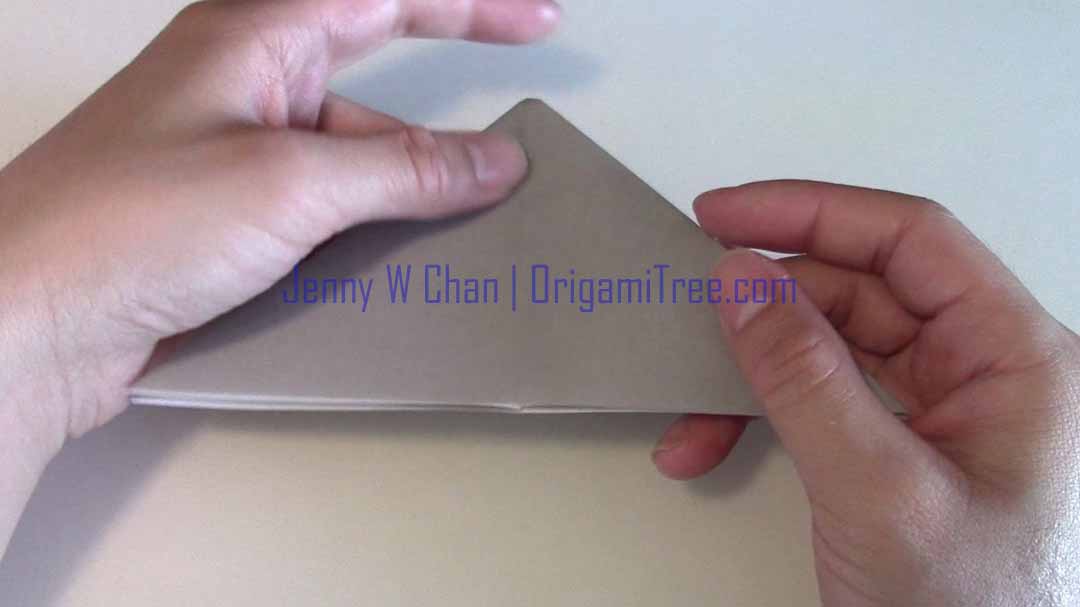 2. Fold flaps to center crease. Repeat on both sides. Unfold.
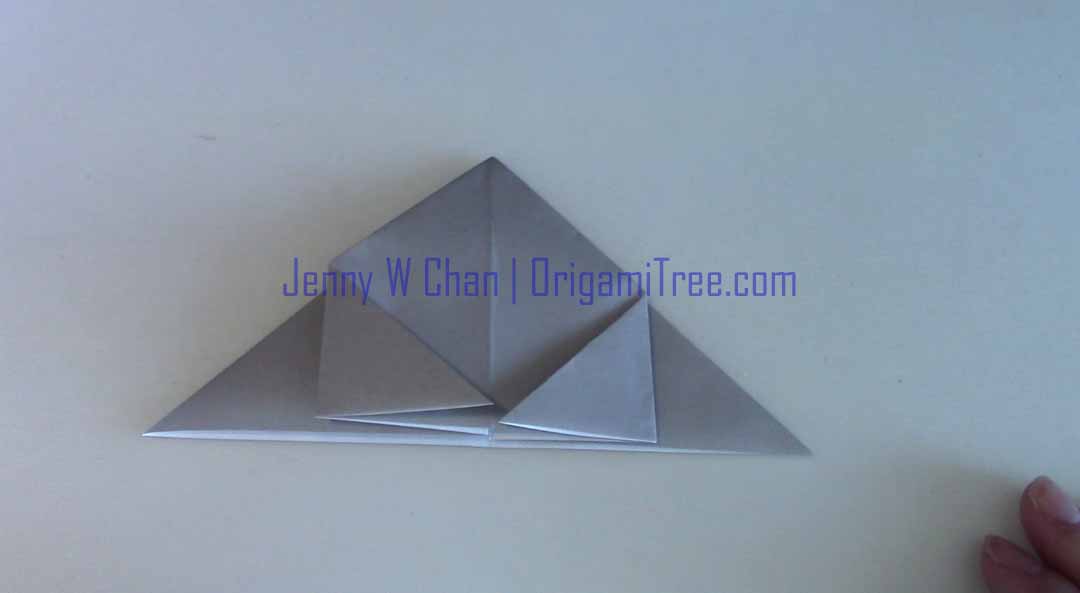
3. Fold flaps upward to align with top tip. 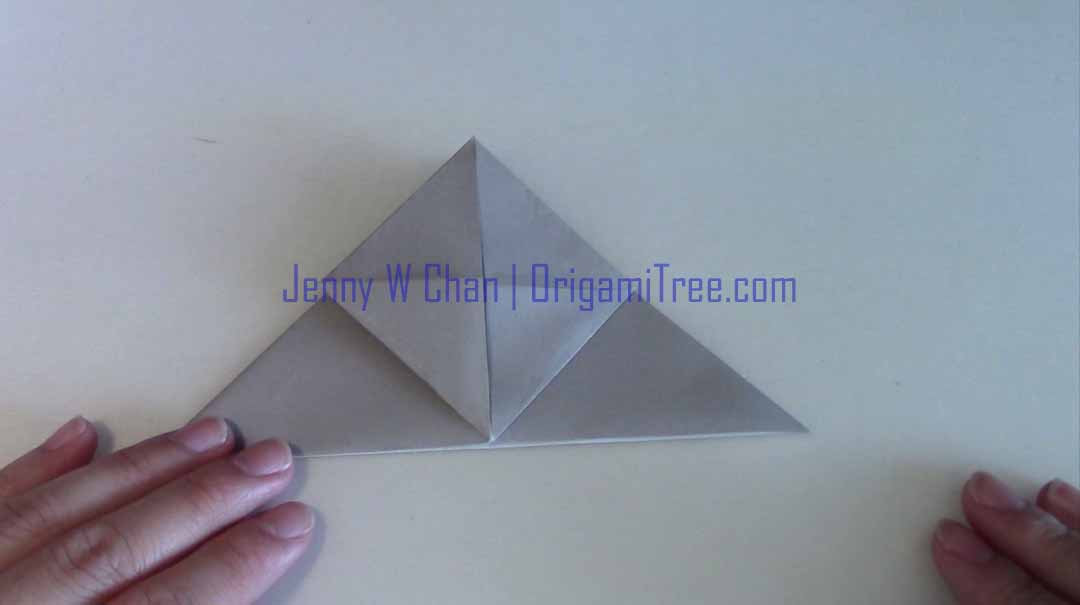 4. Squash fold to create two squares (one on each side). Repeat steps 2-4 on the other side!
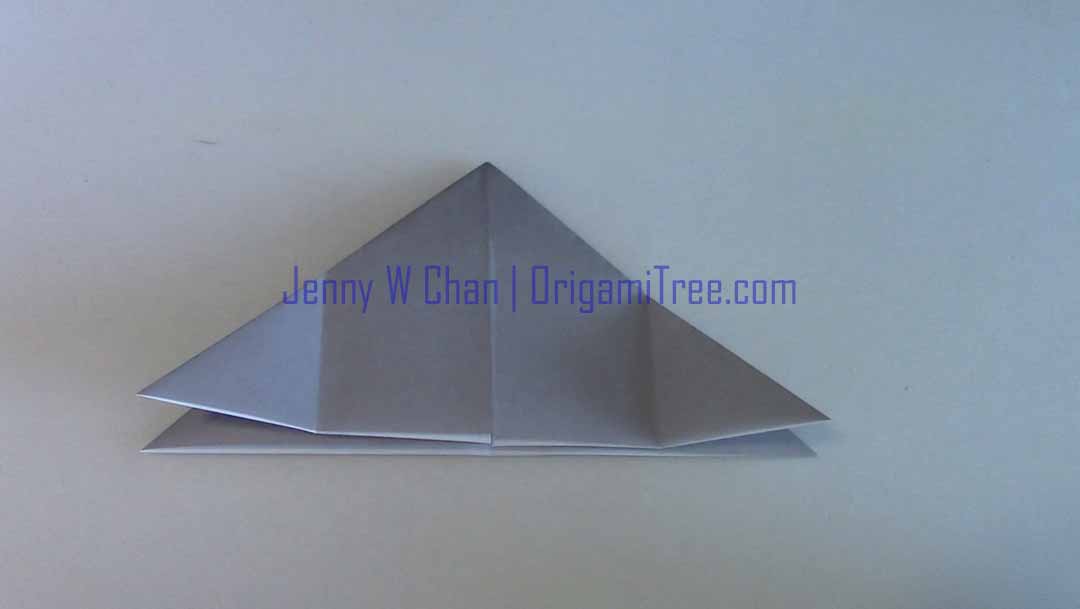
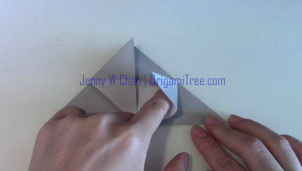
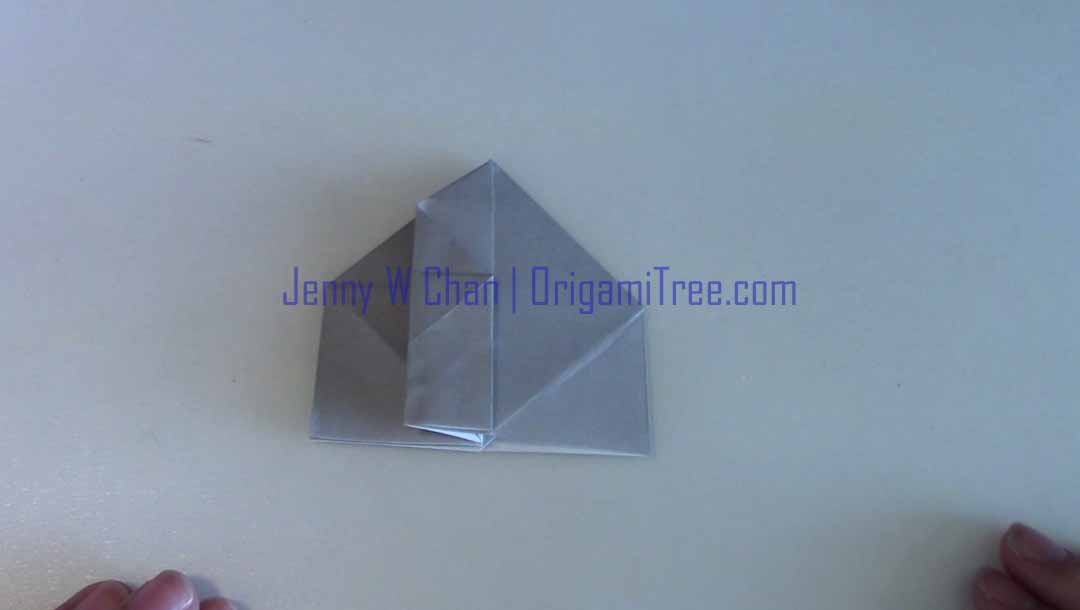
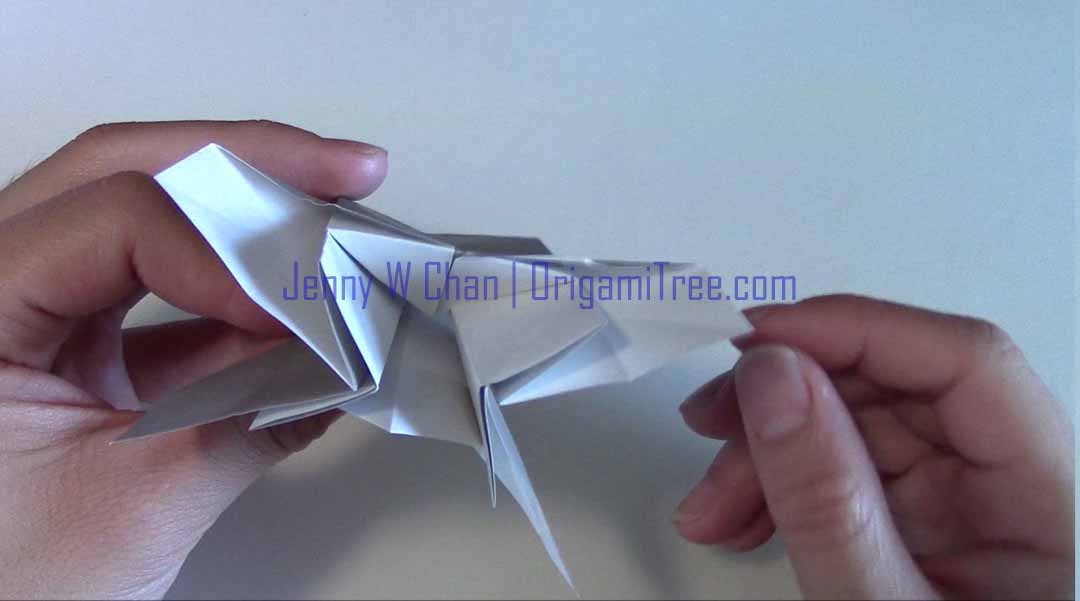
5. Maneuver flaps so that the side WITHOUT the squash-folded-squares are showing (image on left). Fold flap, and align with vertical center crease (image on right).
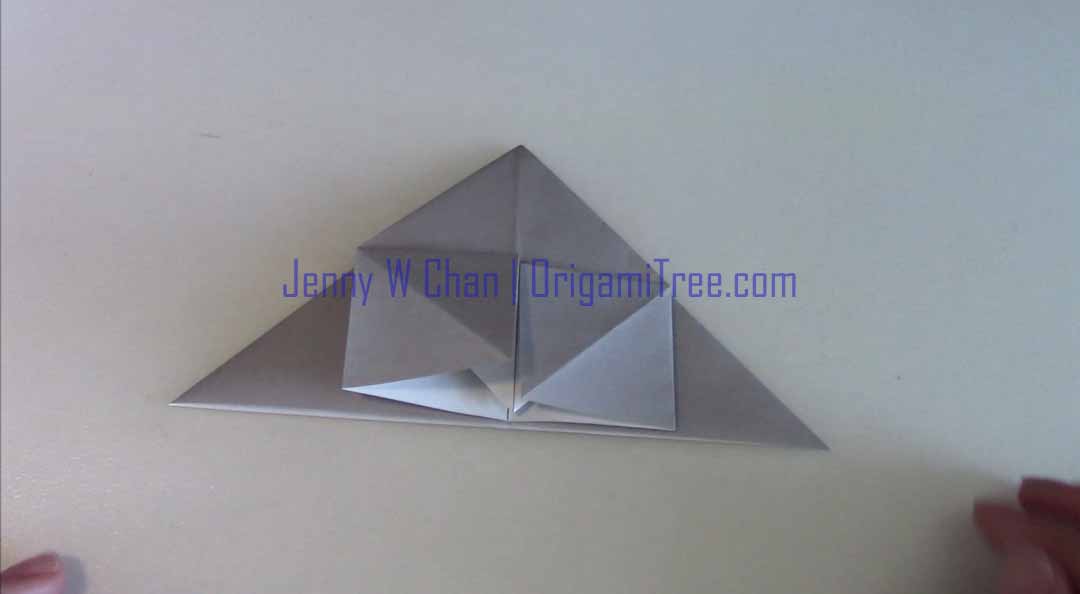
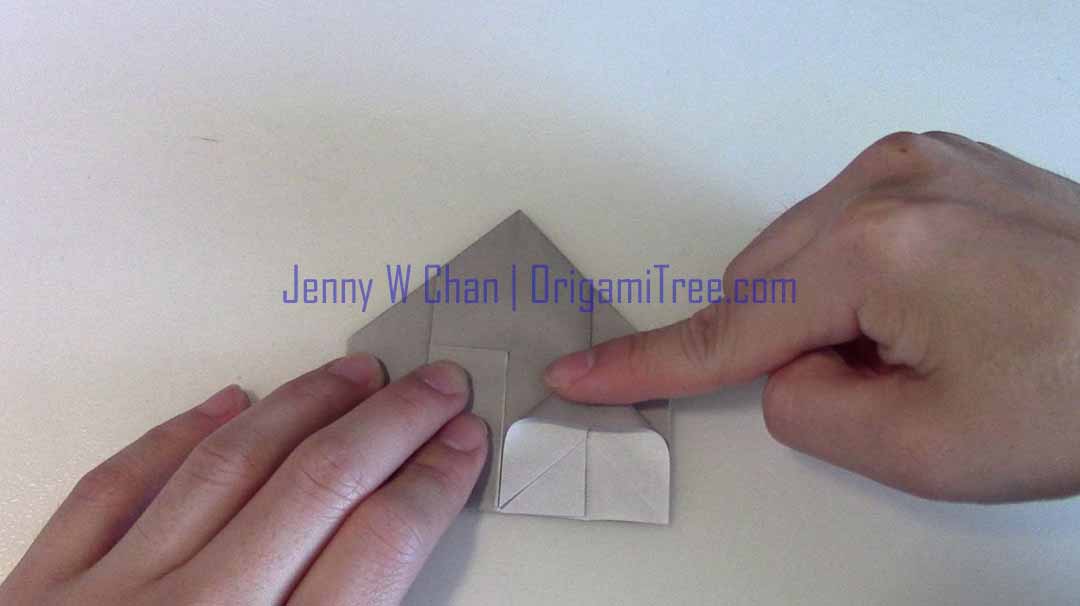
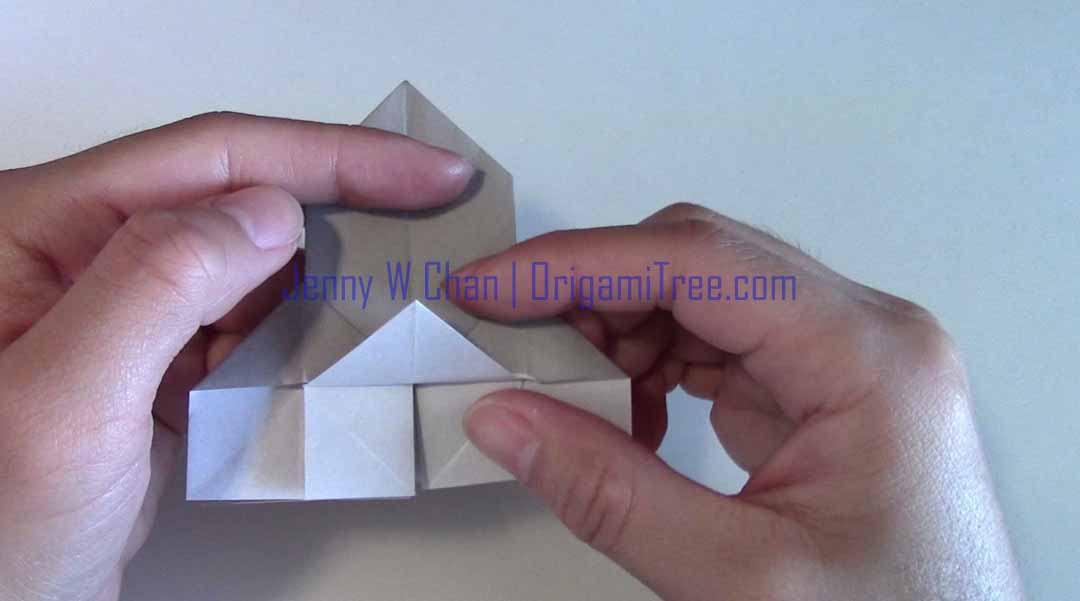
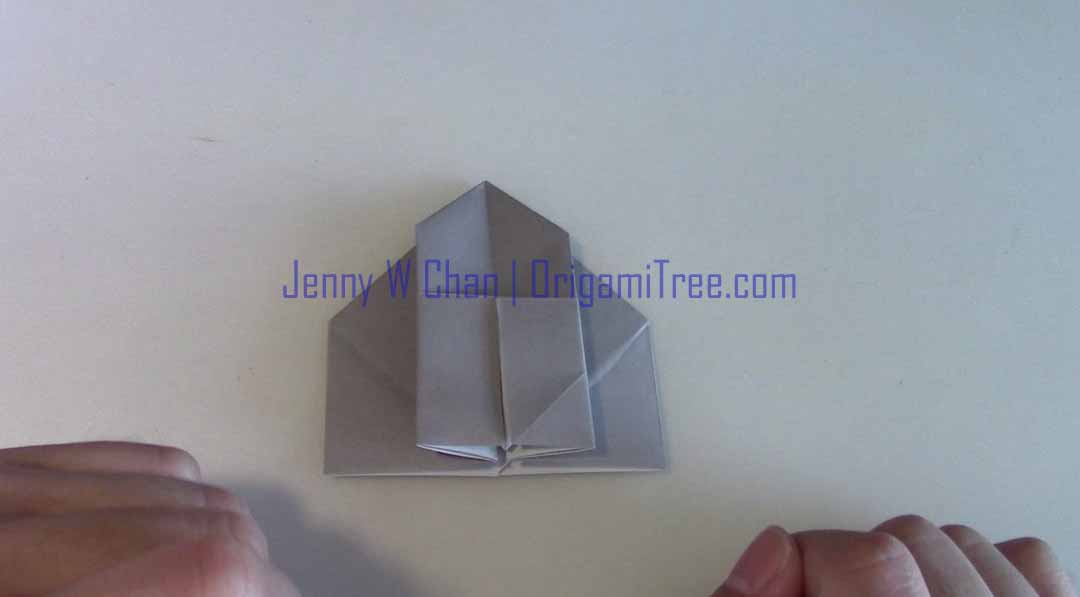 6. Squash fold flaps to create triangles. Repeat on both sides.
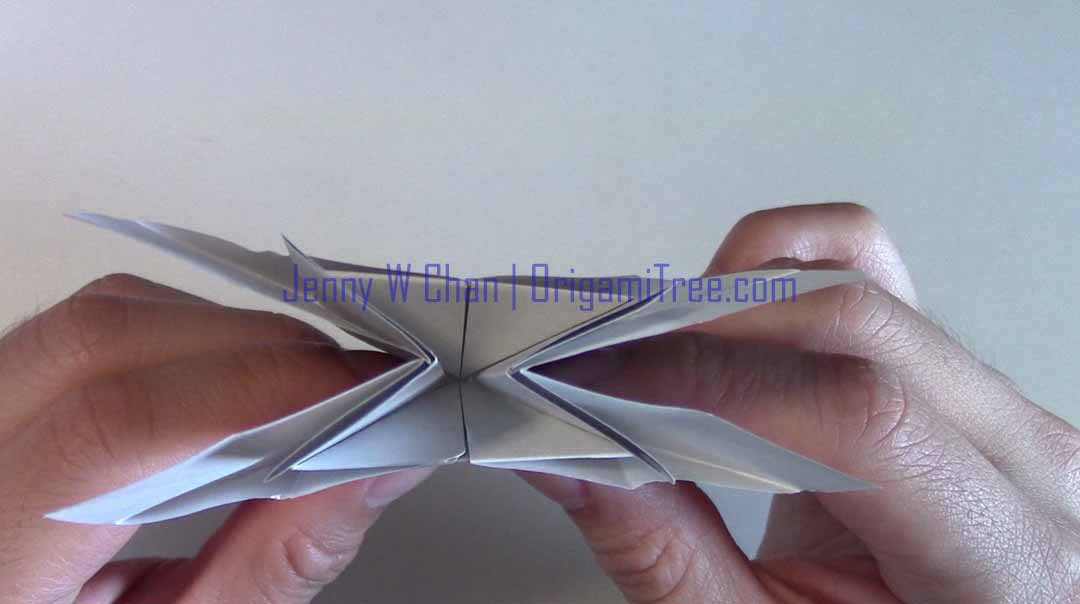
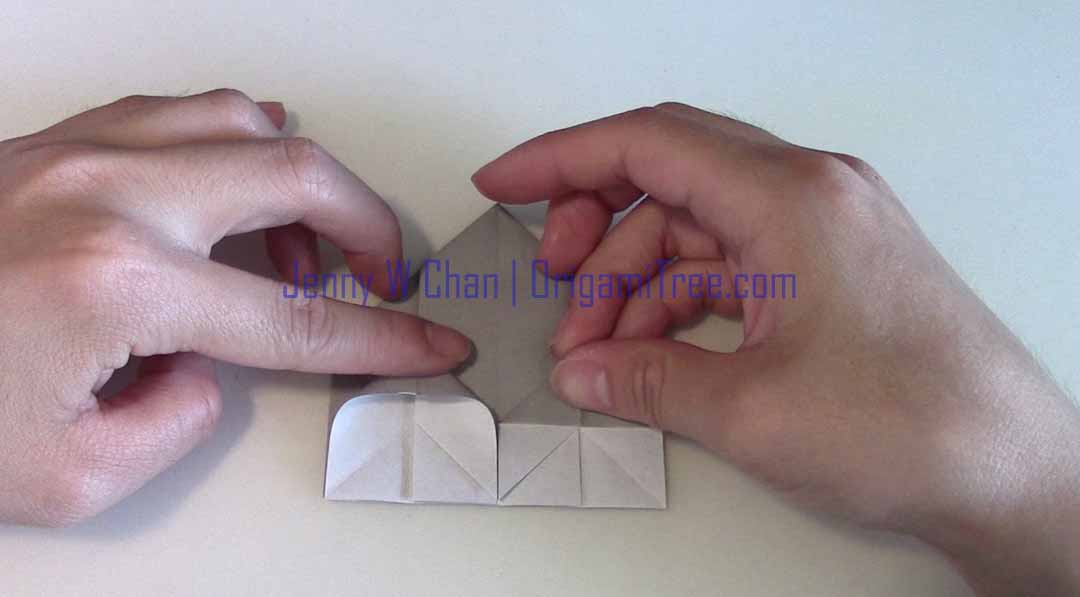
7. Fold center (triangle) flap upwards. Reverse fold. Tuck inside rocket from the bottom. Repeat on both sides. And you're DONE! :-) Yay! Be sure to leave some love on YouTube. <3
 | 

AuthorJenny is a native New Yorker and a self-taught CategoriesAll ArchivesNovember 2014
|
 RSS Feed