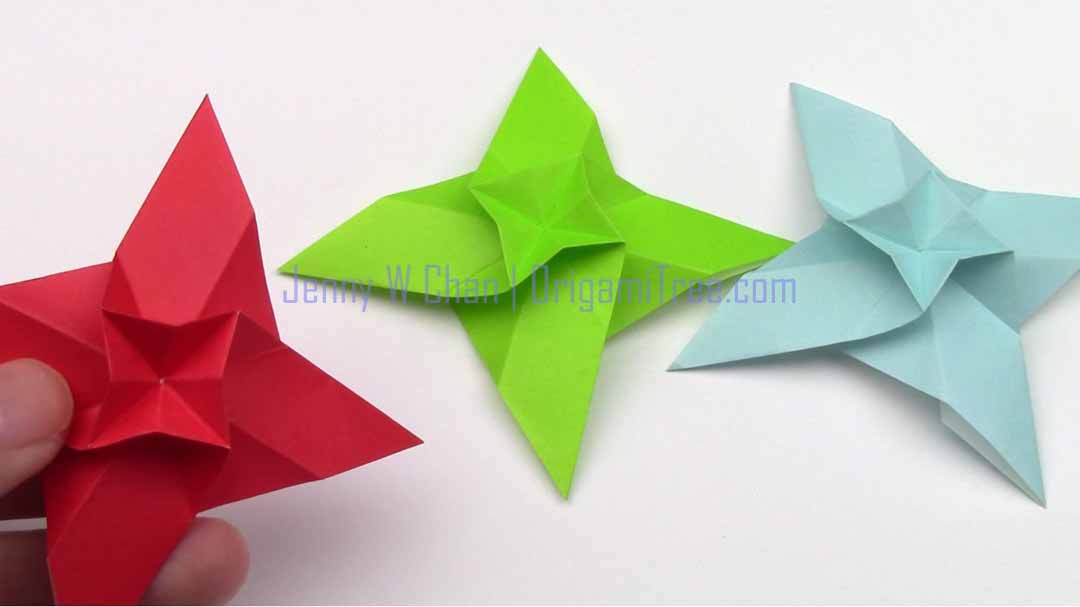
Learn how to make an Origami 4-Petal Star Flower. It also looks a little like an origami ninja star, if you so choose to call it that. :-) It doesn't really have a purpose, other than decoration. Make a whole bunch and place them in a shadow box for in a really unique room decor. Or tape a bunch to a wall with putty in a child's room.
Written Instructions
Note: Written instructions are meant to be general guidelines, to be used in conjunction with the video tutorials. Please refer to the video tutorial for detailed instructions.
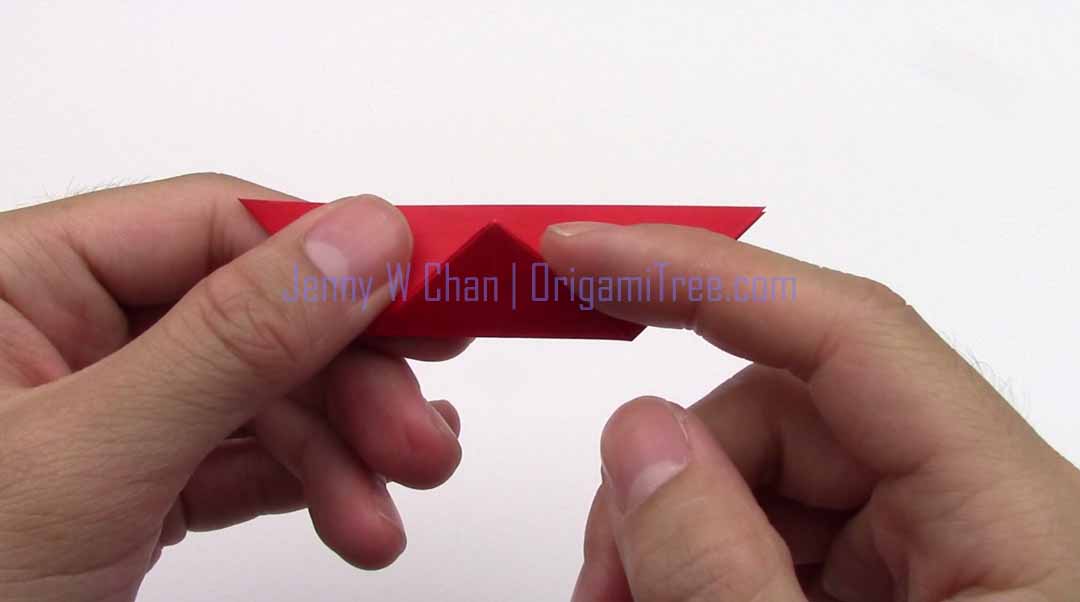
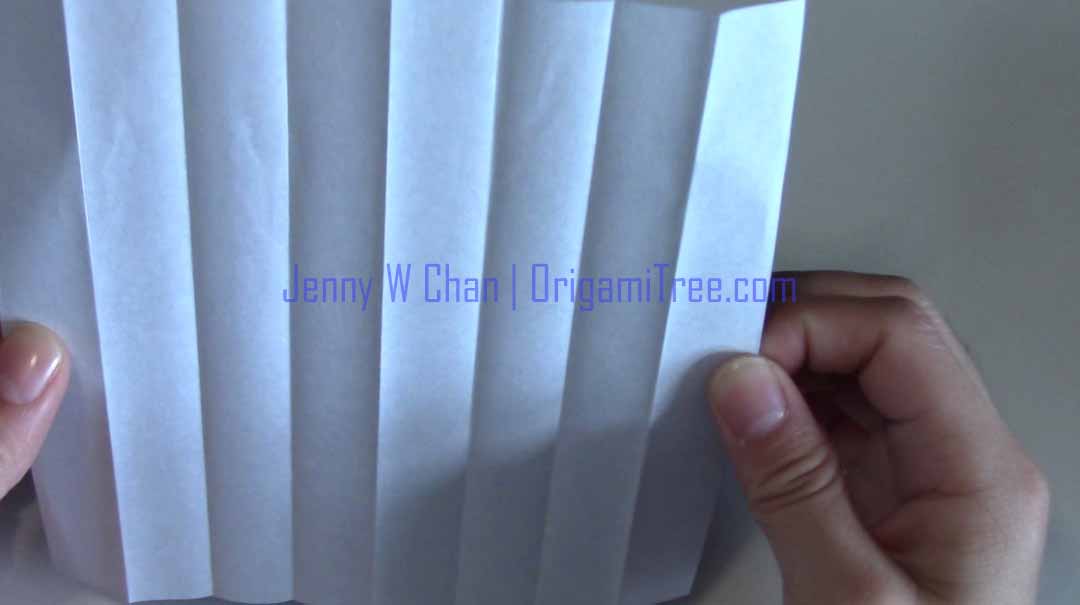
1. Start with a waterbomb base. If you're unsure how to fold that, please refer to the video tutorial above. Fold tip to the top edge. Crease it in very well.
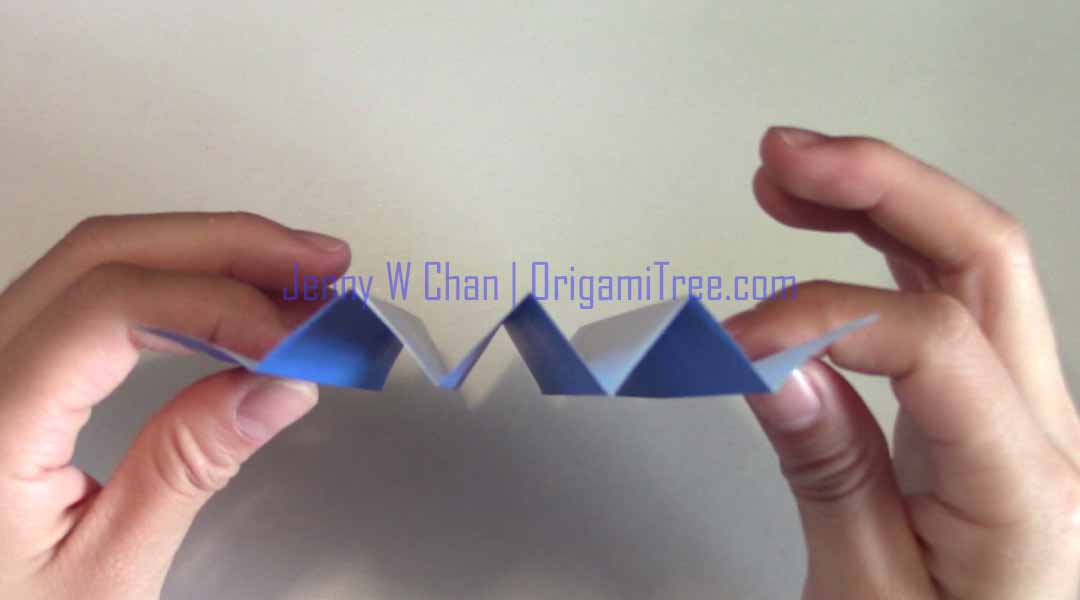
2. Spread both sides out (in opposite directions; left side to left; right side to right).
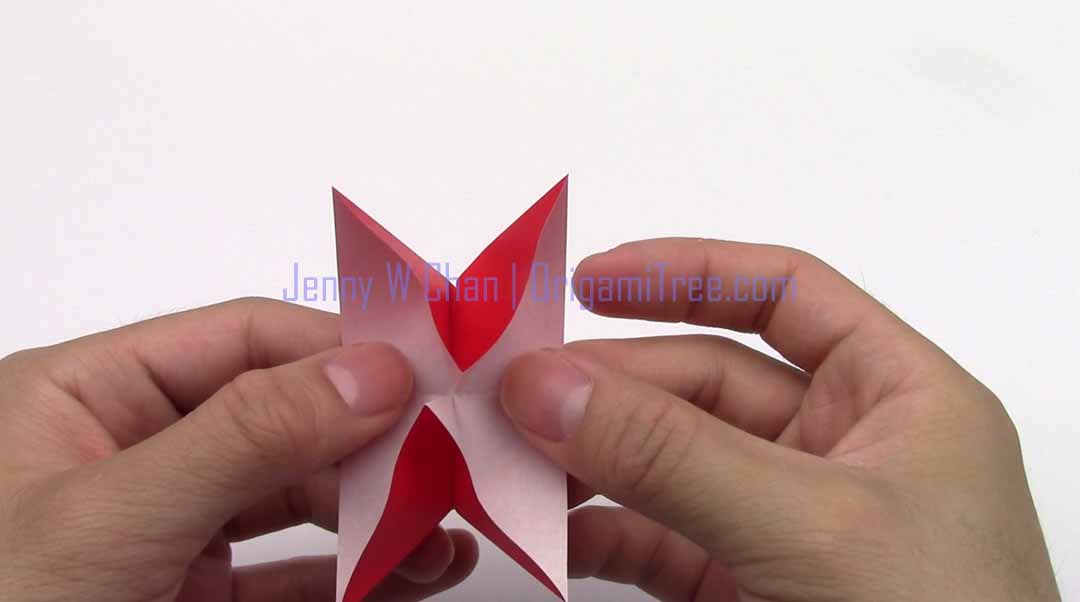
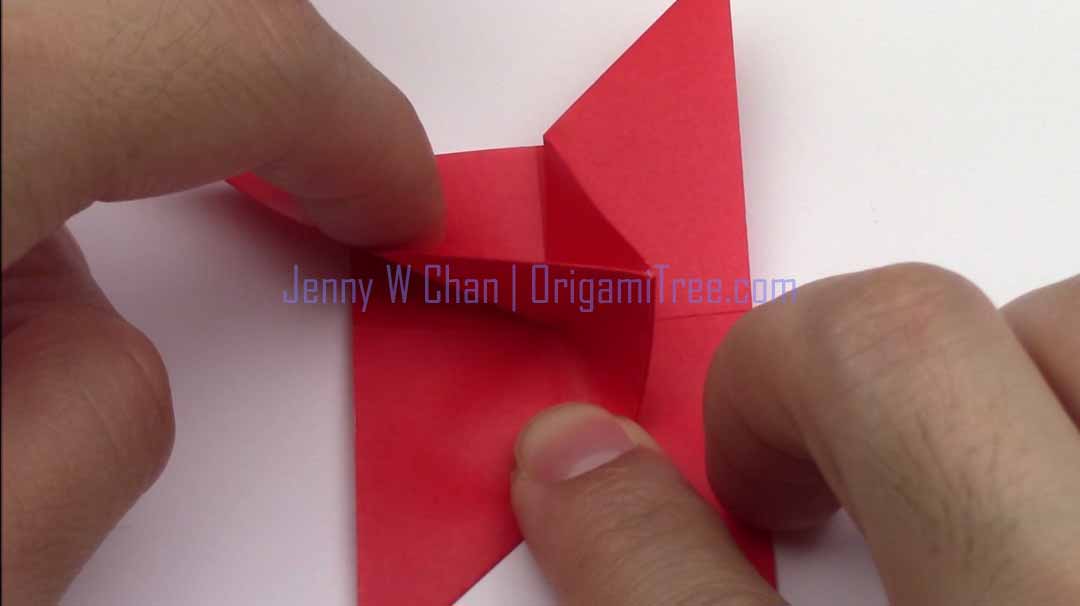
3. Flatten. Repeat on both sides.
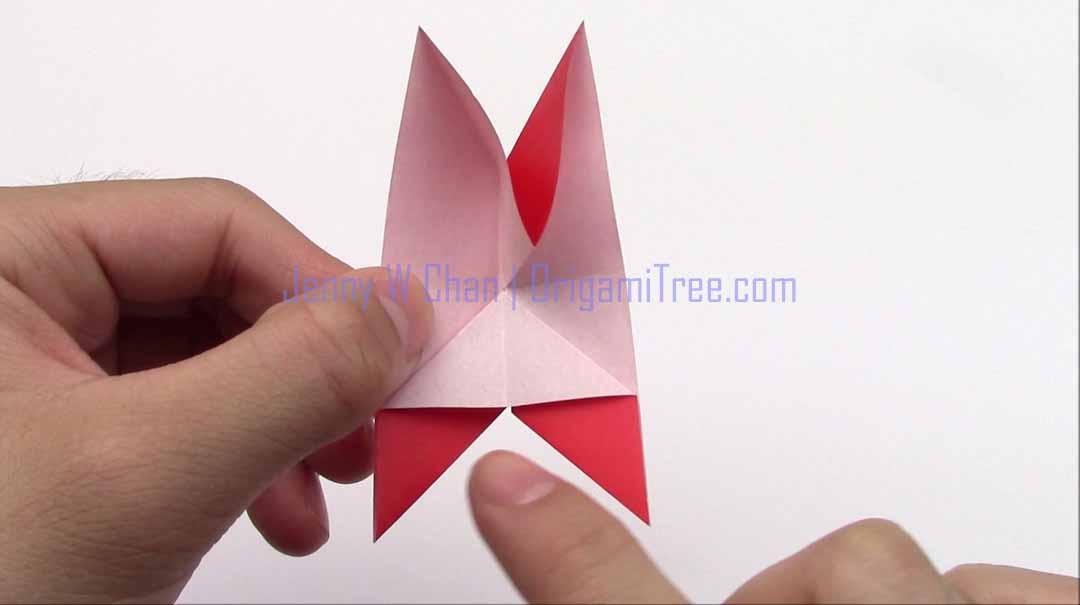
 Front View | 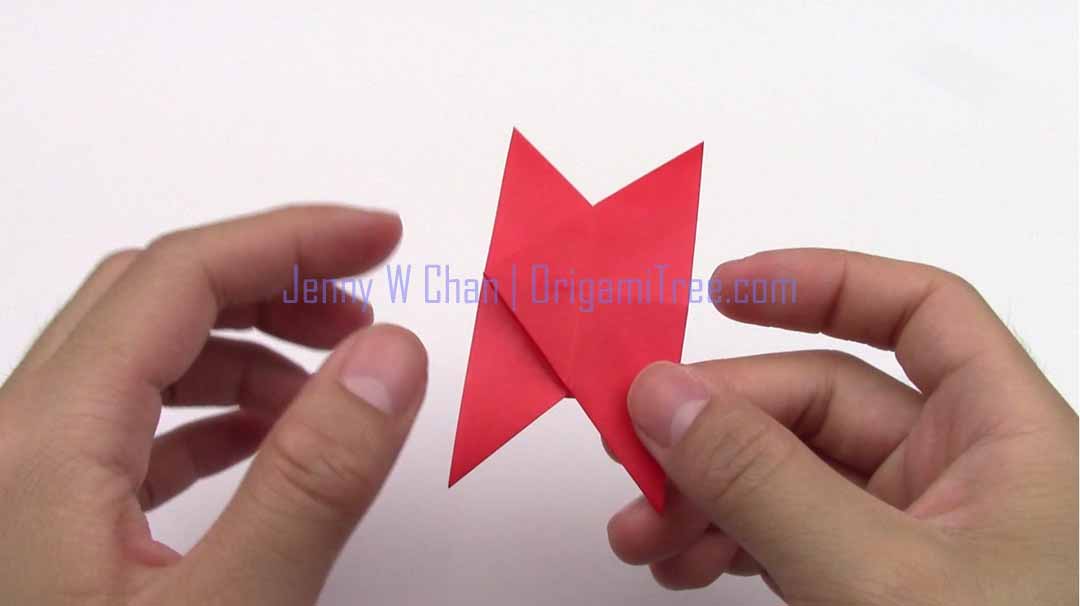 Back View |
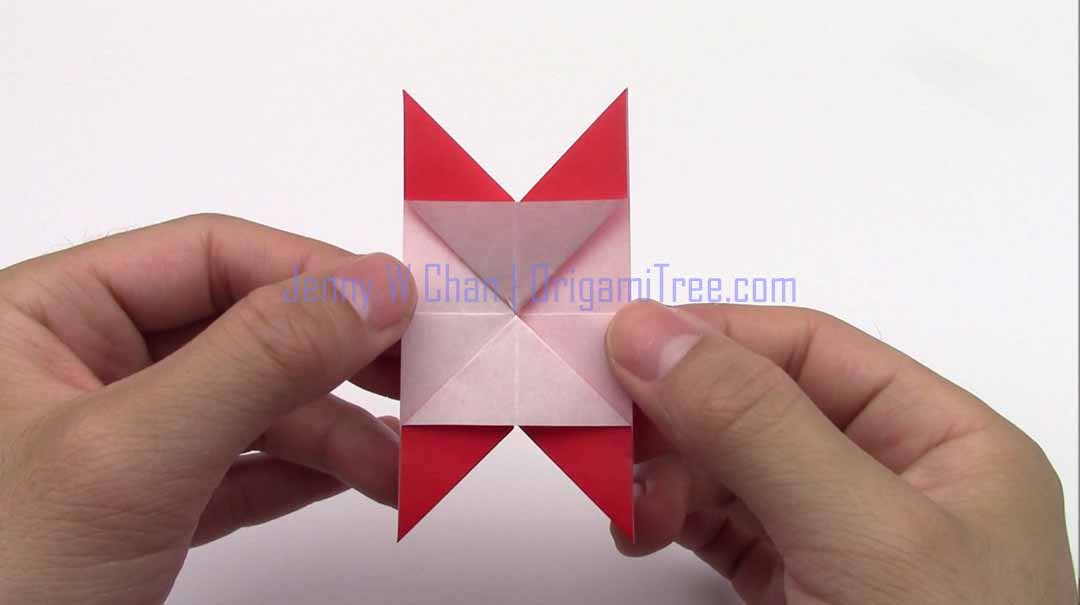
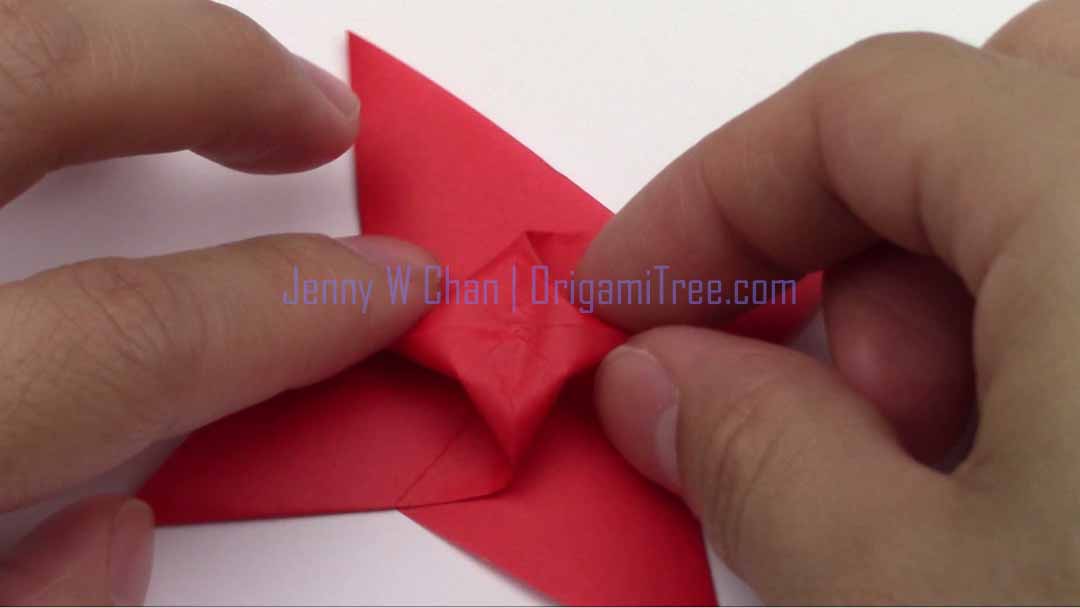
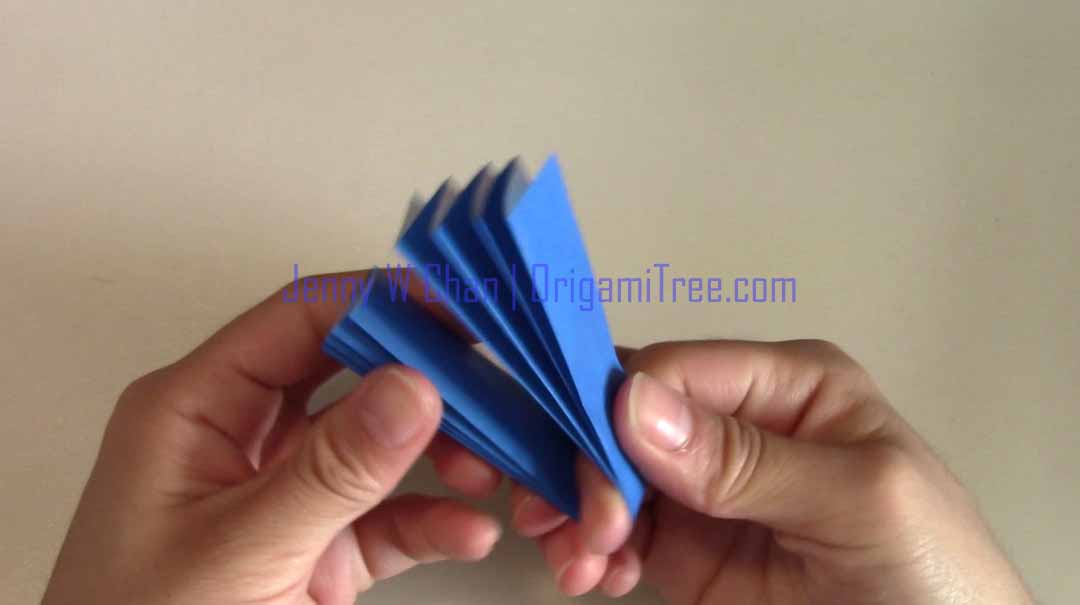
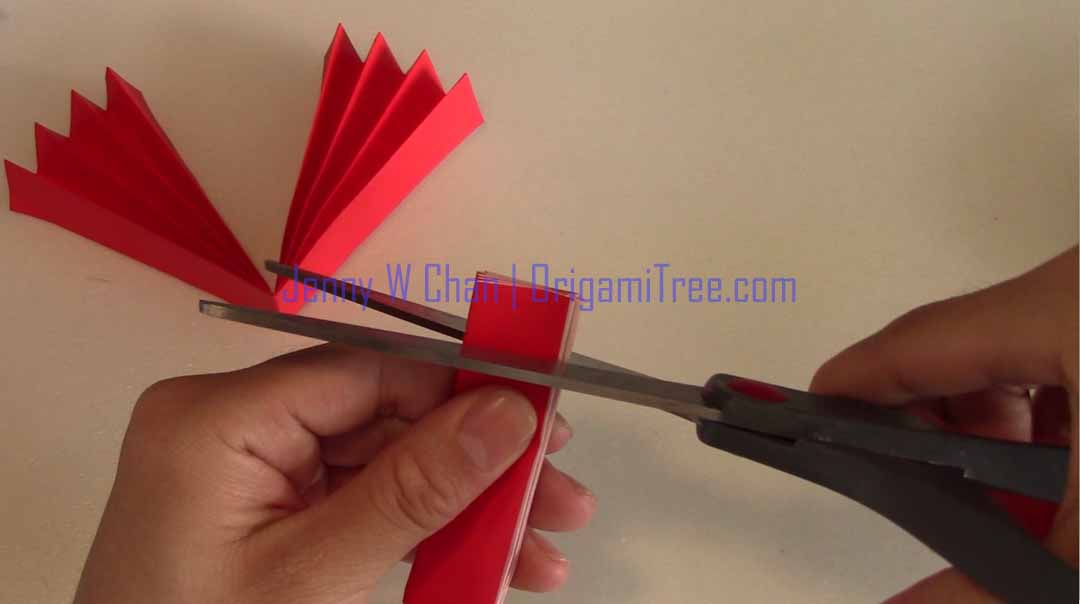
4. Fold flaps in counter-clockwise direction (click on any image to enlarge).
 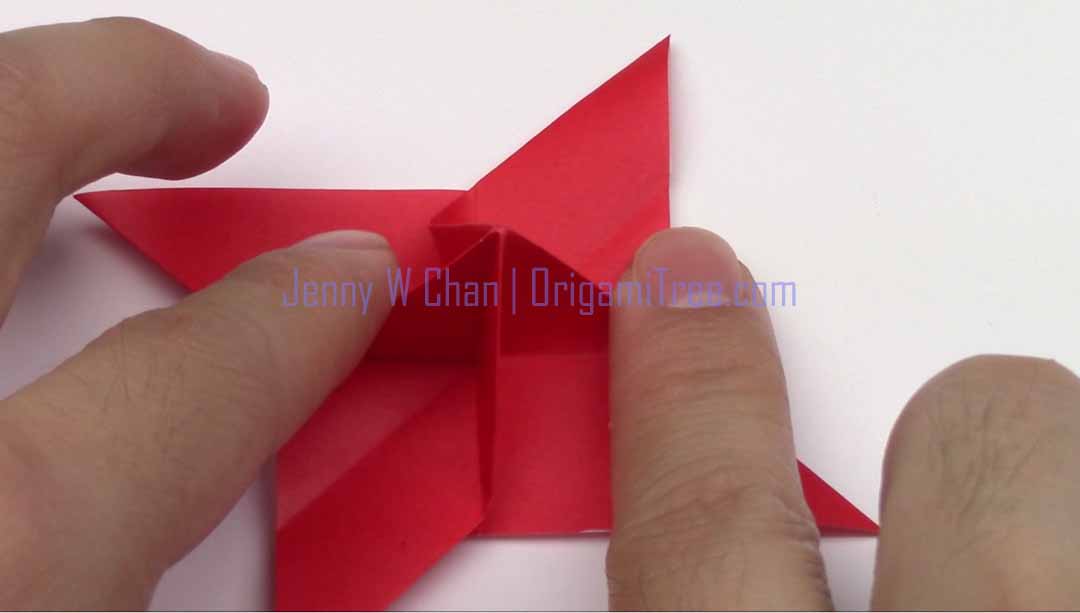 |  |
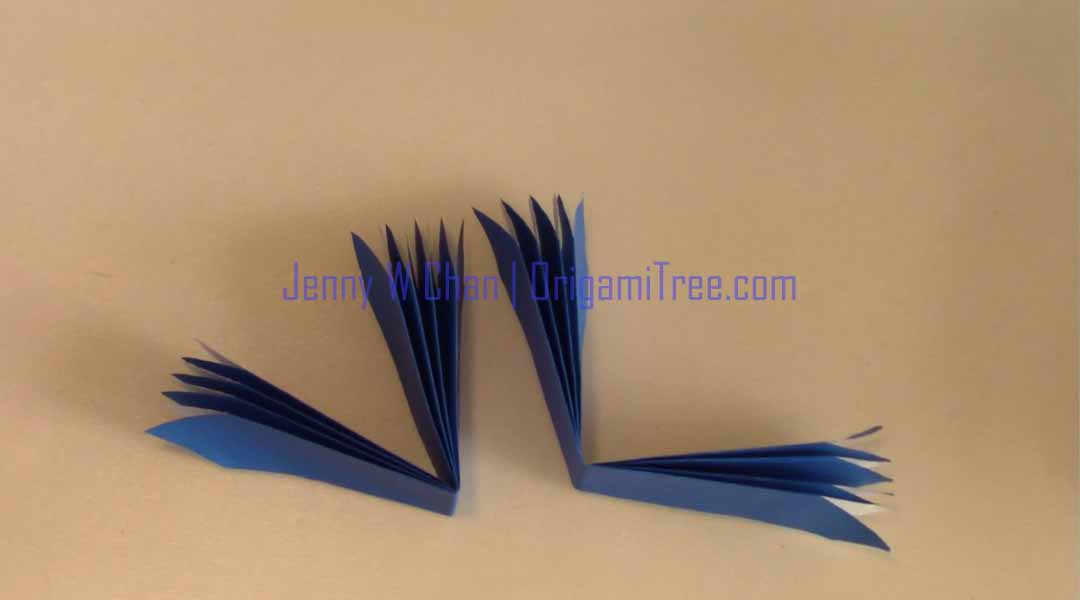
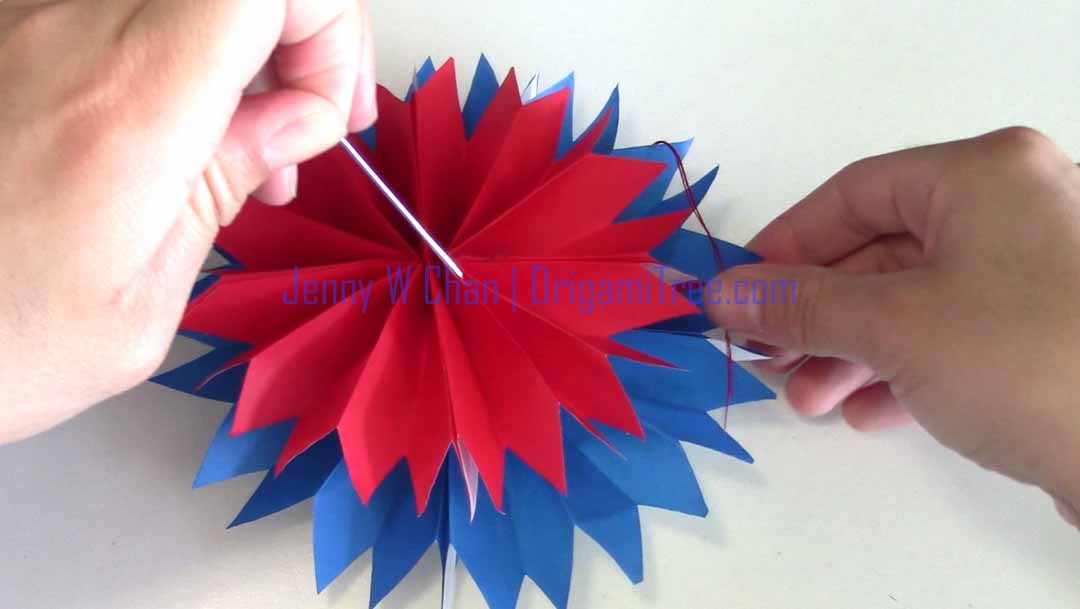
5. As you continue to fold the flaps in a counter-clockwise direction, you will notice the center start to "inflate" and create a square shape. Flatten the square at the center by pushing on it towards a flat surface (e.g., table).

 | 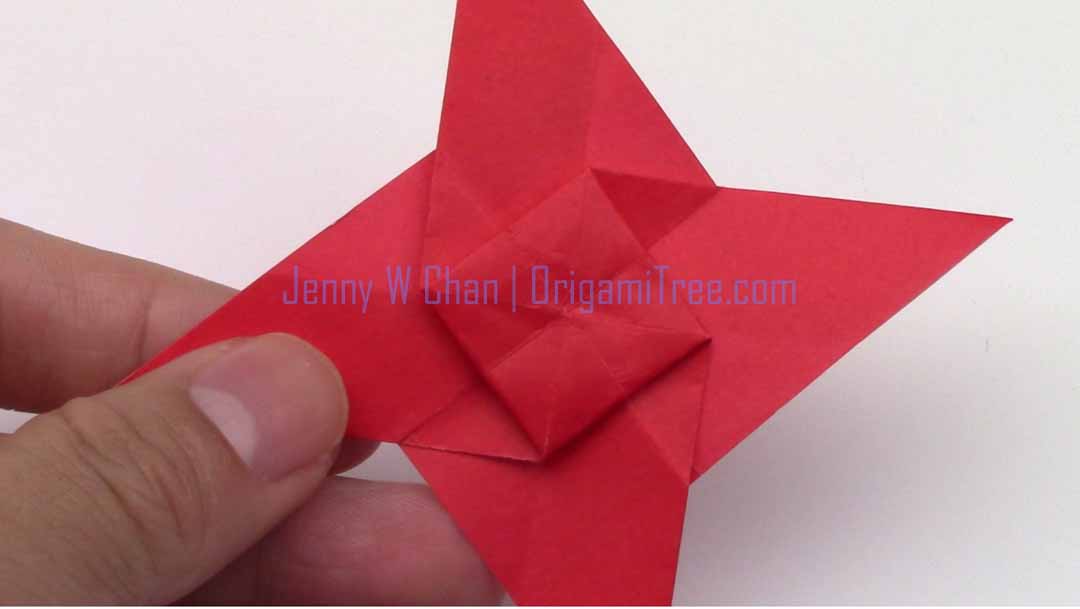 |
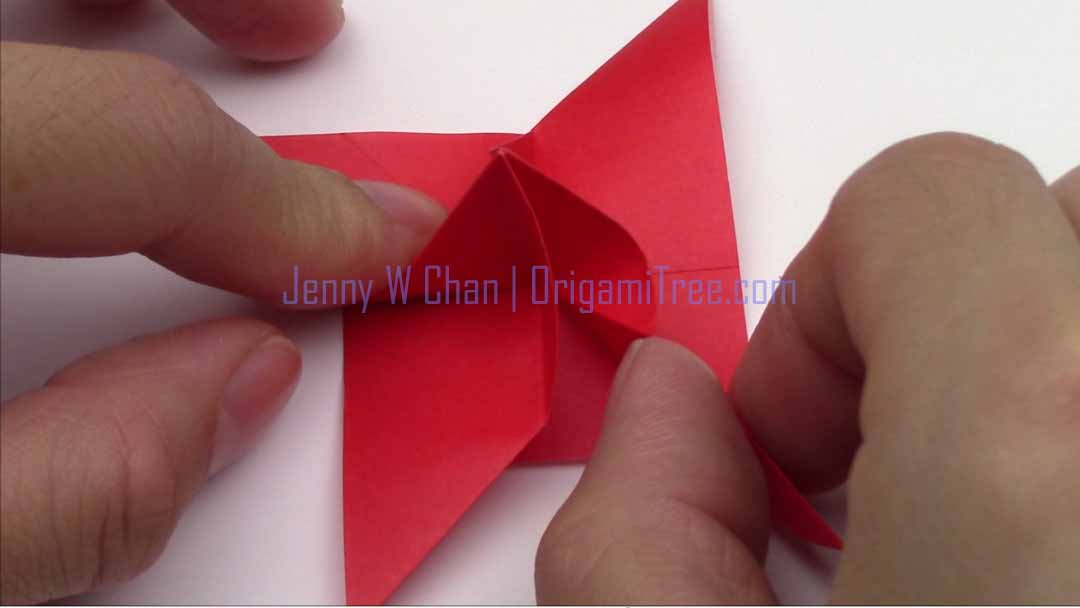
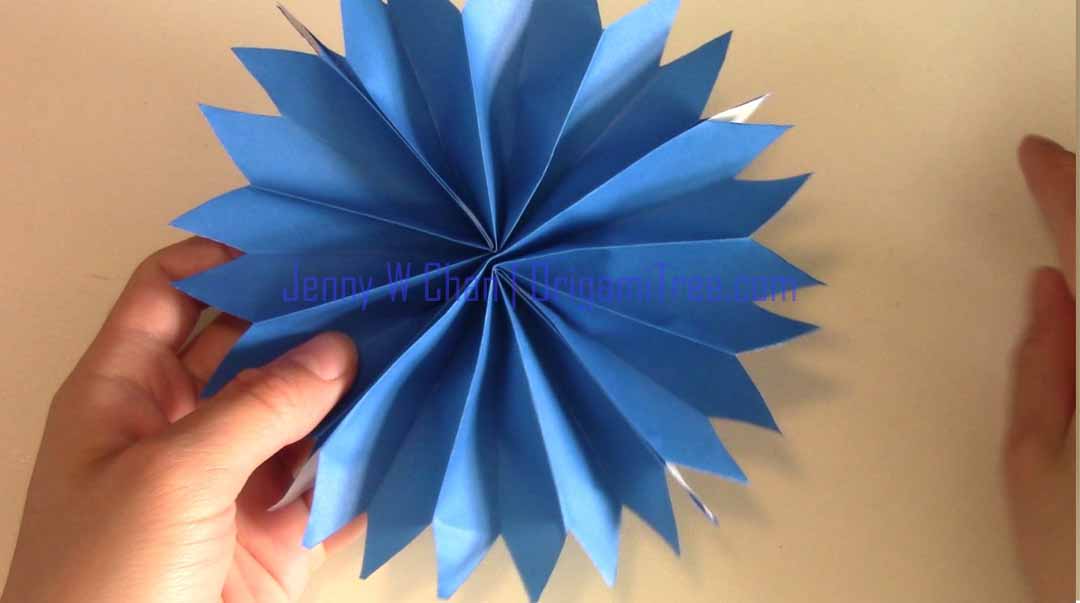
6. Reinforce creases to create a more 3-dimensional look, and dramatic look.
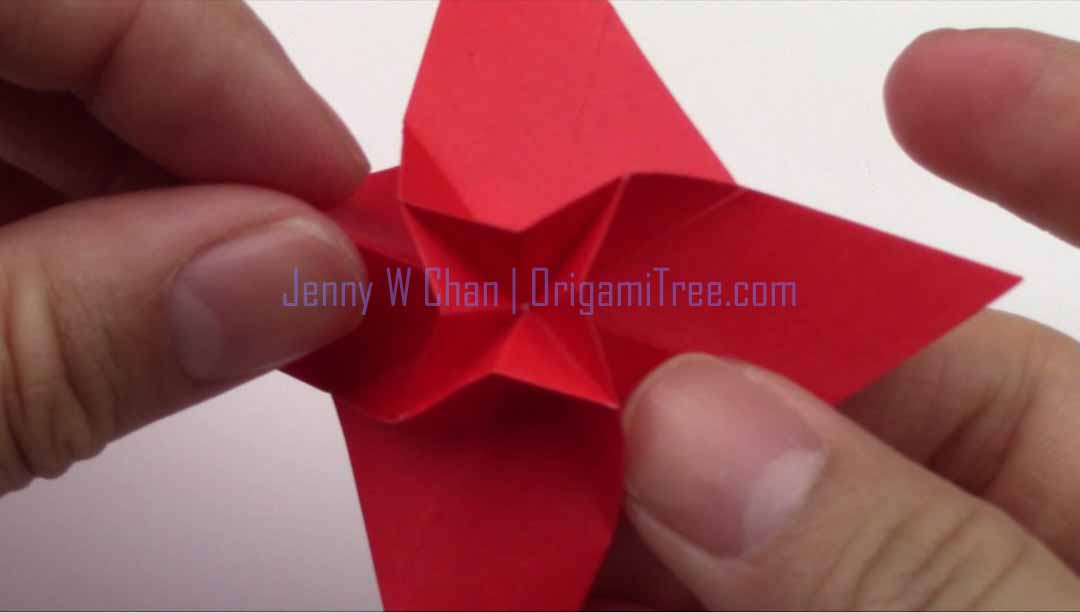
7. And you're done!!! :-) Yay! Don't forget to subscribe on YouTube for more original designs!


 RSS Feed