Make your very own Trick-or-Treat Origami Candy Box / Holder this Halloween! This origami candy box is great for storing little candies or treats for your trick-or-treaters this year. But they can really be used as party favors, or decoration, for any time of the year. :-) The DIY paper box requires 2 sheets of square paper. I used 6" squares. The bottom is a traditional origami box, and the lid is almost identical, but with a slight twist at the end.
In this tutorial, you'll learn how to fold a traditional origami box / container. These are great for storing little knick knacks that you may have lying around your home or office. You can put office supplies, loose jewelry, coins, small toys, and more! It also makes a great gift box (place a sticker, add an embellishment, or draw on it, for instant customization!) In this origami box tutorial, I used a 6" square. The end result is 2" x 2" x 1". You can make two of them so that the container has a lid. Or, you can many many boxes in different sizes and stack them inside, or on top of, one another. :) Written SummaryNote: Written instructions are meant to be general guidelines. For more detailed instructions, please refer to the video embedded above. MATERIALS
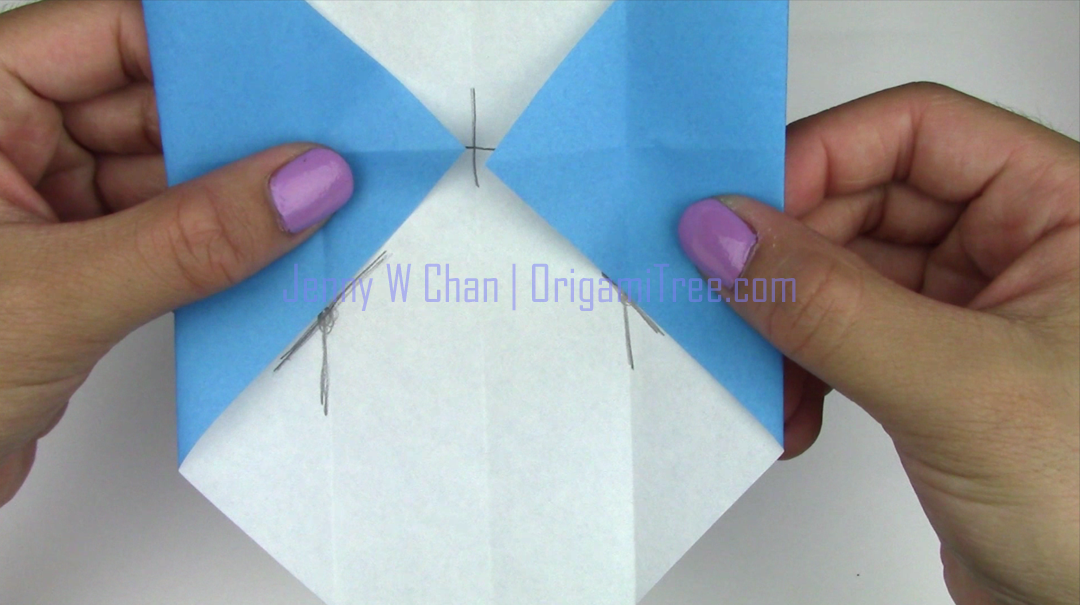
INSTRUCTIONS 1. Fold square in half, diagonally. Unfold, and repeat in the other direction. Notice the center point (drawn in pencil). 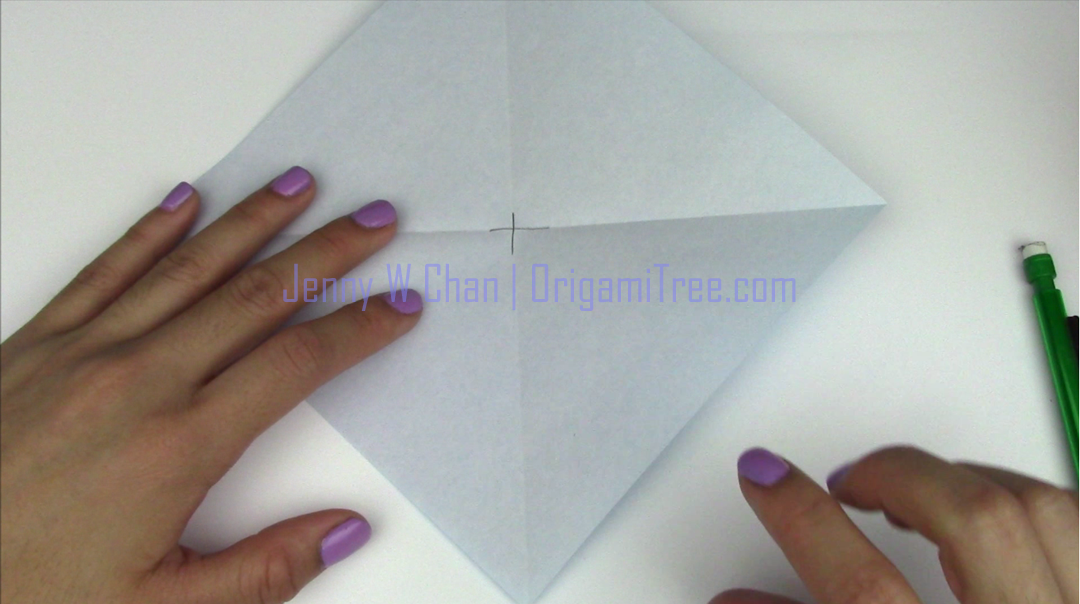 2. Fold two opposite corners toward the center intersection. 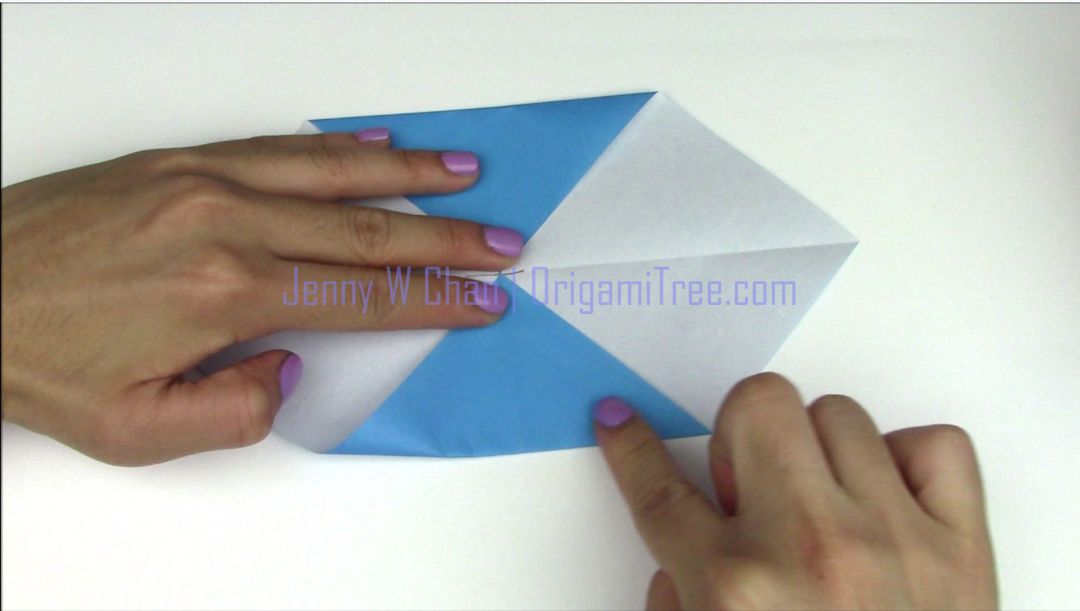 3. Fold those same two sides upwards, toward the center horizontal crease. 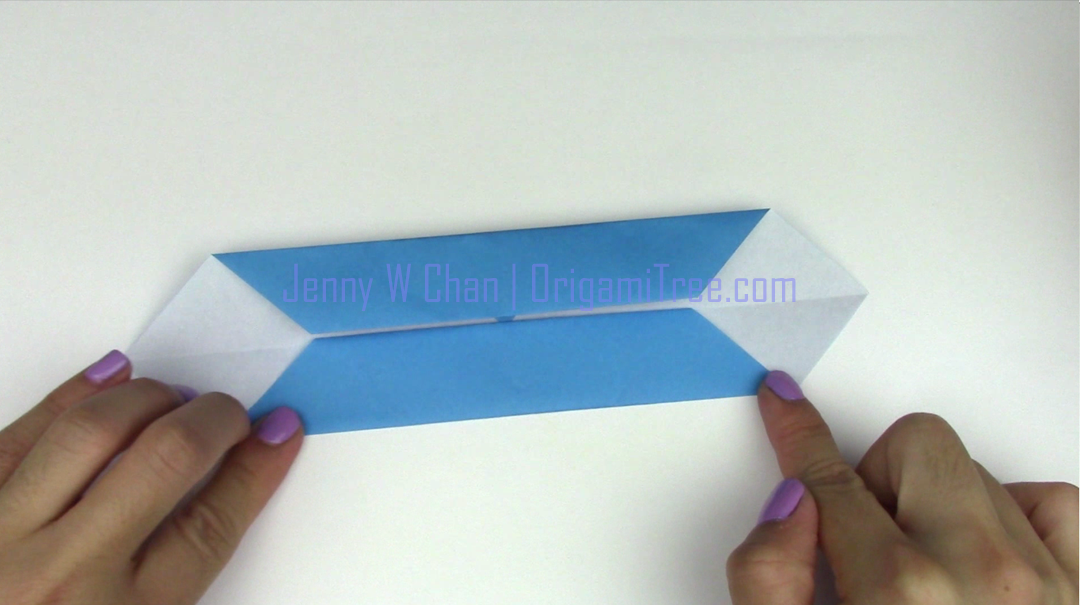 5. Take notice of marked points (in pencil, left image). It's where the vertical creases [in white] "meet" the colored triangles [in blue] on both sides. Fold upwards along the "dots" (right image). Repeat on the other side.
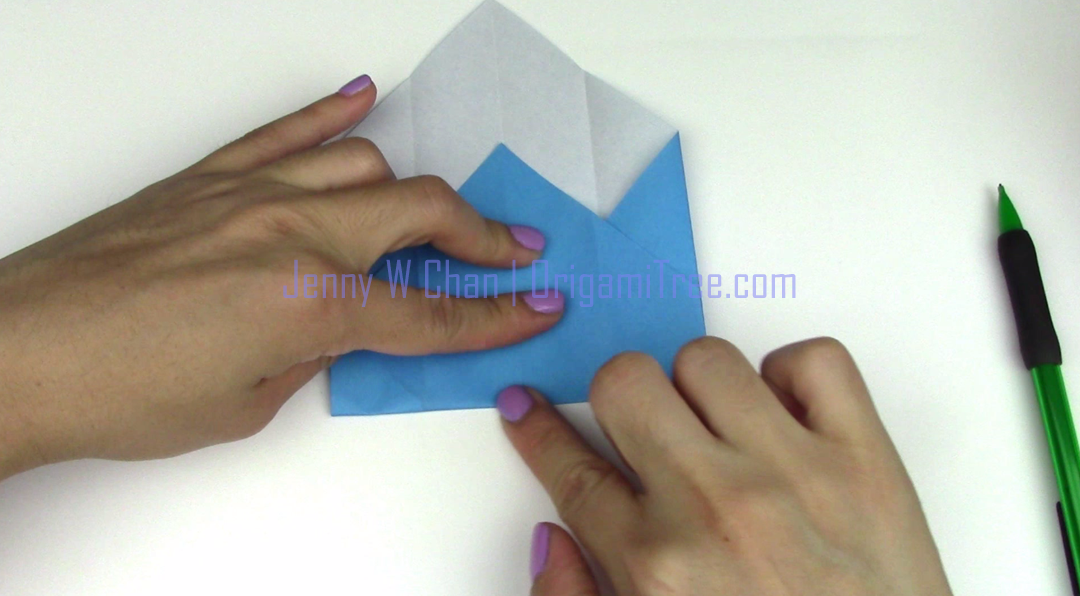
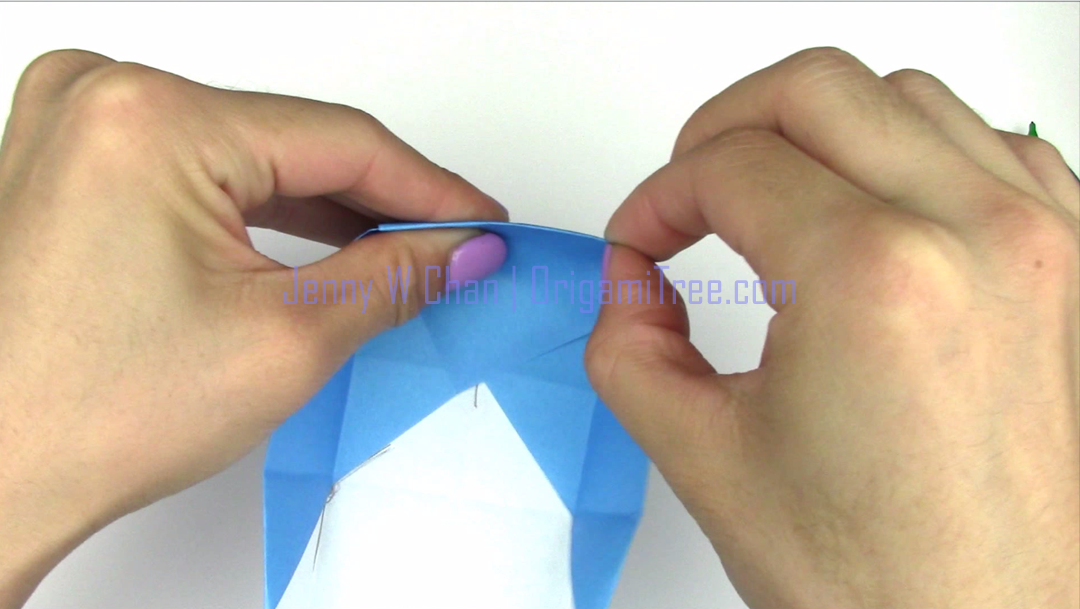
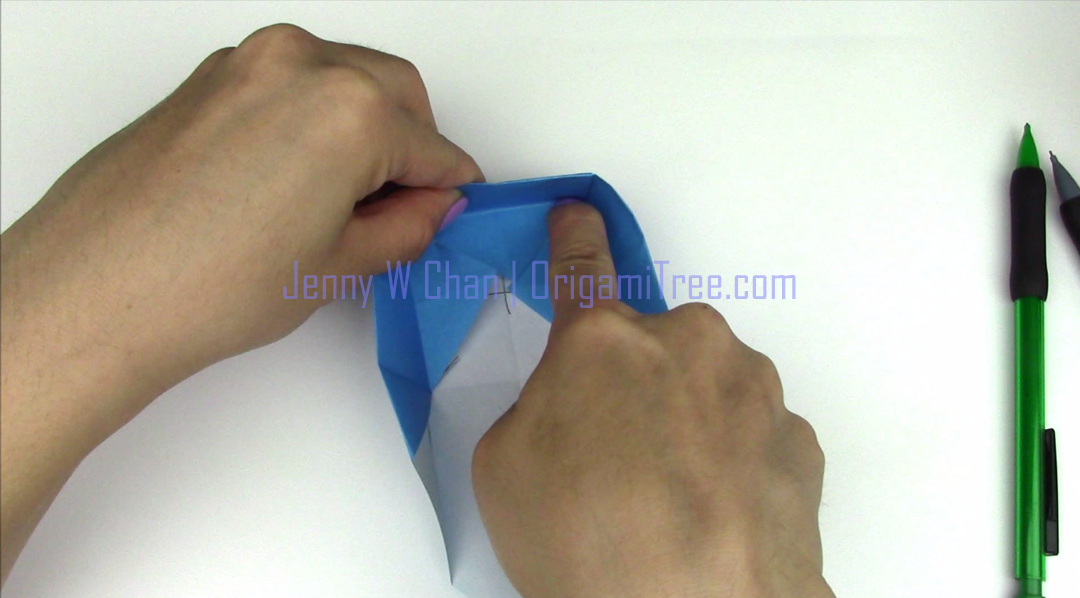
6. Raise longer ends up so that it is perpendicular to the table's surface (90 degrees).  7. Push shorter side upwards (top view, left image -- side view, right image). Notice the two "triangles" caving in towards the center.
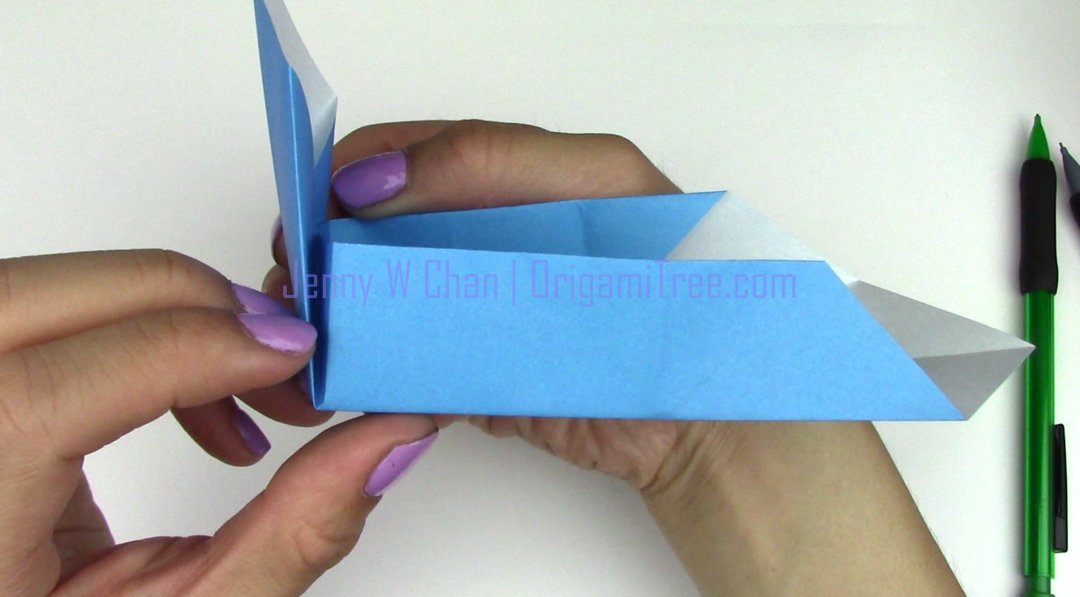
8. Fold shorter side down (left image). Flatten & crease with your fingers against a flat surface (right image). REPEAT on the other end, and you're done! :-)
Don't forget to show some love on YouTube! :-) Hope you enjoyed making this origami box, and that you find the video tutorial (in conjunction with the image/written instructions) helpful! Remember, you can make two of the same thing so that it has a lid! ;-) You can also make a special "candy lid" for the this box, which I designed, as shown below. (Click on image for tutorial). 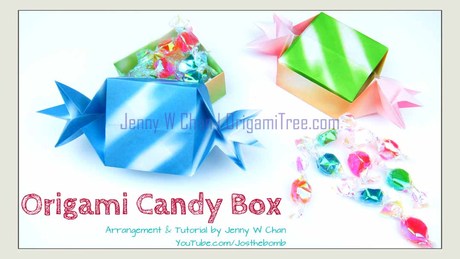 | 

AuthorJenny is a native New Yorker and a self-taught CategoriesAll ArchivesNovember 2014
|

 RSS Feed